Showing posts with label recipe. Show all posts

Wednesday, January 5, 2011

Homemade Laundry Detergent

As promised....my homemade laundry detergent recipe (well, not mine, but the one I use).
Here is what you will need:


The Borax I get at Wal-Mart for $2.98, Washing Soda at Ingles for $3.38 and Ivory Soap at Wal-Mart $.33 (12 Pack for $3.98).
The measurements are as follows:
1 cup Borax
1 cup Washing Soda
1 bar of Ivory Soap
Place the Ivory Soap on a plate.

Place it in the microwave for 2 minutes. Keep your eye on it and if it gets too big, take it out and let it cool. Take the "fluffy" part and crumble in a bowl and place back in the microwave and let it expand again. Repeat this process until all the soap is "fluffy". It will look like this:

Take the cup of Borax and Washing Soda and combine it with the crumbled soap. I take my hand and keep crumbling the Ivory Soap while I work it into the mixture.

I use an empty coffee container to store it in.
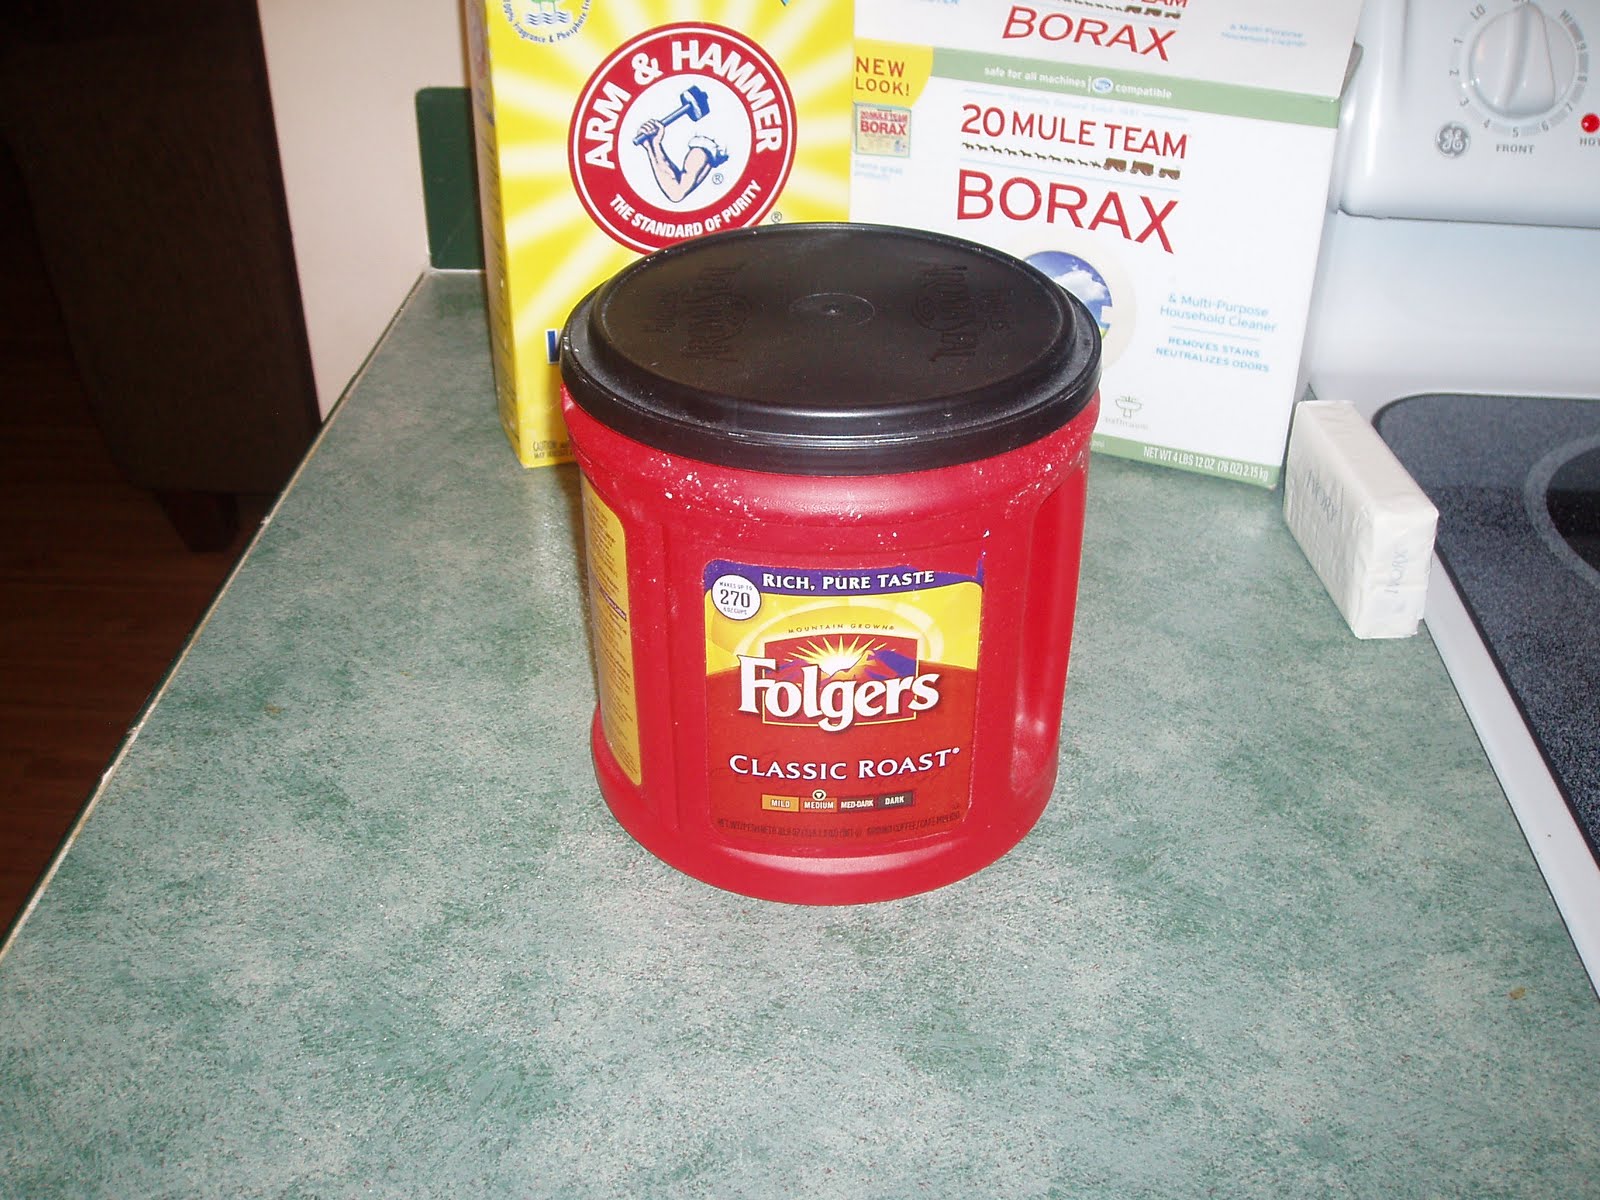
I use 2 tablespoons per load. Place in the bottom of the washer and load with clothes. This has worked great with our laundry. Jeff's clothes can get really dirty and I have never had a problem. This is also an all natural laundry detergent!! I use 1/4 cup to 1/2 cup of white vinegar for fabric softener. This kills odors, disinfects and softens the clothes. Again this is also all natural and it's cheap! Your clothes do not have a vinegar smell, nor does your laundry room. I buy a gallon of white vinegar at Wal-Mart for $2.98. White vinegar can be used with lots of cleaning...I will post more about that later!!

Cheap and Easy Peanut Butter Cookies

I recently discovered this recipe that I had to share. It's super easy and did I mention CHEAP!!
1 cup of Peanut Butter (your choice creamy or crunchy)
1 egg
1 cup of sugar
1 tsp. of vanilla


Yep, that's it. No flour! Combine ingredients and mix well. Place a teaspoon amount on baking sheet and flatten with fork (I used a teaspoon and then took the mixture and rounded it and flattened it). Then bake for 10 minutes. Cool. Done!
These cookies are very sweet so I may reduce the amount of sugar. But, everyone gave them the thumbs up. Fast, Cheap and Easy snack! If I used organic peanut butter and natural sugar they might even be considered healthy!
I have stored them in an air tight container
and hid them for consumpation control! Lol!

Monday, June 1, 2009

Getting things ready to freeze!

I spent maybe an hour minus the cooking time to prepare dinners for the freezer. I usually buy the large family size packages of chicken (I use thighs because they are cheaper!).


I cook all the chicken then take the meat off the bone when it is cool. I then measure out a cup of chicken per freezer bag (most recipes only call for a cup of chicken) and freeze flat.


Then I buy the whole chicken (at Aldi these are .89 cents a pound). I clean them inside and out and rub them down with lemon pepper seasoning on the inside, outside and under the skin.

Then I wrap them up in foil and place them in a large freezer bag and freeze.


This little bit of time preparing now saves a whole lot of time when you are in a mad dash trying to fix dinner in the evenings. A lot of times I measure, mix and freeze all of the casserole ingredients in one large freezer bag. Dinner is simply defrosting during the day while you are busy with other things and then placing the ingredients in a casserole dish to cook when ready. This I would have showed you, but due to poor menu planning on my part I didn't have key ingredients for my casseroles! Ugh! Oh well, at least the meat is cooked and ready to go!!

Thursday, December 18, 2008

Making Goodies!

Chocolate Covered Cherries!

These are really easy and kids love them!
You need a jar of Maraschino cherries and some chocolate!
You need to drain your cherries well! Any moisture will make the chocolate not coat the cherry....as you probably see in my picture. I drain the cherries and place them on a paper towel. Then place them on a plate and stick them in the freezer for just a little while. Melt the chocolate and take the semi-frozen cherries place a dab of chocolate on the wax paper and place cherry on top, then take a spoon of chocolate and pour on top of cherry. Cool and let them harden...that's it!Your done! To make them look pretty (which mine really don't...)you can trim excess chocolate from cherry and drizzle with white chocolate or while the chocolate is still wet put holiday sprinkles on them. I fixed 2 jars of cherries and between the kids and hubby...well, I might have one left!

Tuesday, October 7, 2008

Monkey Munch!!

The banana bread turned out great yesterday! But, what I really want to share is the chocolate peanut buttery goodness of Monkey Munch!! I tried to take a picture, but with the powdered sugar, I think it was hard to distinguish what it was!
This is a simple and cheap sweet snack that makes a ton of the yummy goodies!

9 cups of Chex cereal (I use Aldi's brand rice chex for $1.69)
1 cup of semi-sweet chocolate chips (Aldi's brand $1.19)
1/2 cup peanut butter
1/4 cup butter or margarine
1 tsp. vanilla
1 1/2 cups powdered sugar

Place chocolate chips, peanut butter, butter in a microwavable bowl...microwave for 30 seconds, stir and repeat until melted and smooth.
Add vanilla and stir.
Pour over cereal while stirring.
Place in Ziploc freezer bag and add powdered sugar and shake until coated.
Spread out on wax paper and cool.
Keep refrigerated in airtight container for storage.

*Wendy's helpful hints*
I combine a little cereal and a little chocolate mixture at a time to coat instead of the whole cereal mixture at one time.
I microwave chocolate when it starts to harden with a 1/2 tsp. or less of oil and stir and continue to pour over cereal.
I seemed to mash my cereal a lot when I did it all at one time and I found it coats the cereal more evenly when done this way.

When cool, I separate in Ziploc snack bags and store for quick snacks. Yummy! Now, I need to go and wipe the powdered sugar from my keyboard from where I did a taste test!

Thursday, August 7, 2008

Quick and Healthy Muffins!

Okay, yes! I am stuck on the food theme right now. Yes, it is true that this recipe is chocolate! You have to understand! Chocolate and I have been through a lot! Chocolate is always there to comfort me, to make the good times better and to make the difficult times easier to bear! I have a special relationship to chocolate....nothing can divide us! But, I must admit....chocolate does have a wicked side...a waist expanding, no longer can I zip my pants side. So, when I found this recipe on Weight Watchers....I gave it a whirl. I will admit, I was a little skeptical on how it would taste, but honestly after the first bite, all my fears vanished instantly! (Just like the muffin!)

The recipe is a little complicated....are you ready for the list of ingredients?!

1 box of chocolate cake mix
1 can of pumpkin


Yep, that's it! Now you just combine the cake mix and canned pumpkin. Mix well, it does take quite a bit of stirring to mix it all together and it will be thick. Then just oil (I use the cooking spray) your muffin pan and fill half way full. Place in 350 degree oven and bake for around 20 to 25 minutes. The muffins are super moist and it will be hard to do the fork test to see if they are done. Then let cool in muffin pan for around 10 minutes and remove. No oil! No egg! No calories! OKAY! I lied on the last one....but it is a healthy alternative and they freeze well!

Wednesday, August 6, 2008

Chocolate No Bake cookies

WARNING! MAY EXPAND WAIST LINE!


1 Stick of butter
2 cups Sugar
3 TBSP of Cocoa
1/2 cup of milk

Bring to a rapid boil. By rapid...I mean this:


Set the Timer for 5 minutes and stir your little heart out so it won't burn!
Once 5 minutes is up, turn off burner and stir in 3/4 cup of smooth peanut butter and 3 cups of instant oatmeal. Mix well. I use a teaspoon and drop on wax paper. Let cool. This recipe depending on how large you make the cookies makes around 20 to 24 cookies.

I'm now trying to wipe the drool from the keyboard...I better go grab a couple out of the refrigerator to make sure they still taste as yummy as they did an hour ago!